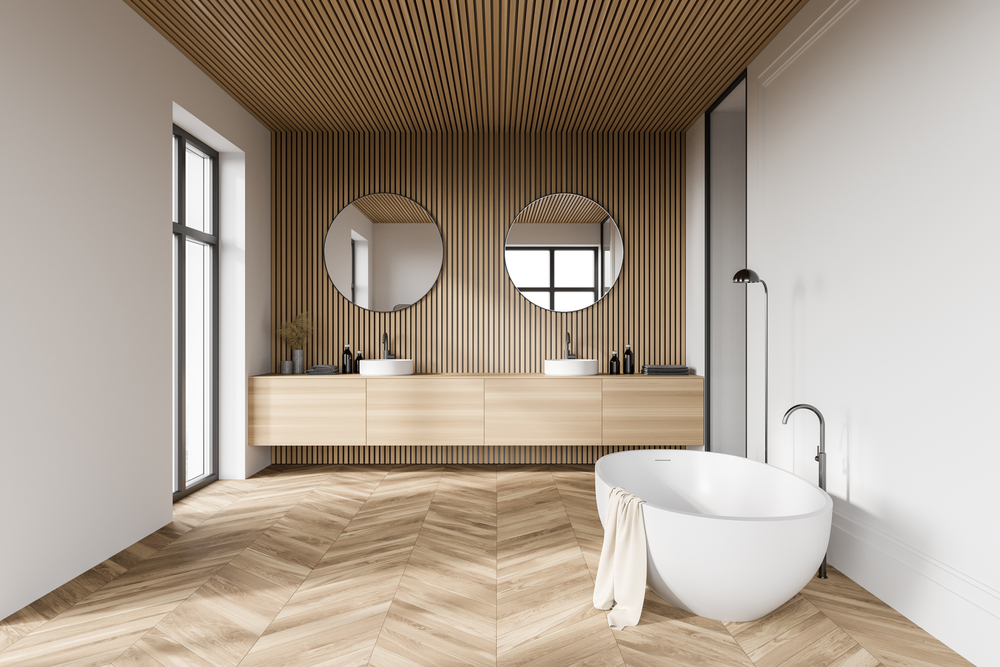
Protect Your Vancouver WA Bathroom Investment
Congratulations on your beautiful new bathroom! A remodel is a significant investment that adds value, function, and style to your home. Now that the dust has settled and the final touches are complete, the next step is ensuring your stunning space stays that way for years to come. This is where post-remodel upkeep becomes essential.
Proper bathroom maintenance is more than just routine cleaning; it’s about protecting your investment. For homeowners in Vancouver, WA, this is especially true. We live in the Pacific Northwest, a region known for its persistent rainfall and high humidity. These local conditions create a unique environment where moisture can become a bathroom’s worst enemy, leading to potential issues like mold, mildew, and water damage if not managed correctly.
This guide provides practical, localized advice to help you care for your newly renovated bathroom. By following these tips, you can extend the life of your remodel, keep everything looking pristine, and prevent small issues from turning into costly repairs down the road. Let’s dive into how you can protect your beautiful new space.
Tile and Grout Care
Your new tile is likely a central feature of your bathroom’s design. Keeping it and the surrounding grout in top condition is key to preserving the room’s overall look and integrity. Grout, being porous, is particularly vulnerable to moisture and staining, making its care a top priority in our damp PNW climate.
Regular Cleaning Techniques
Consistent, gentle cleaning is the best way to maintain your tile and grout. For weekly cleaning, use a pH-neutral, non-abrasive cleaner. Harsh chemicals like bleach or ammonia can break down grout sealer and even etch the surface of certain tiles over time.
Mix your cleaner with warm water according to the product’s directions. Use a soft-bristle brush or a microfiber cloth to gently scrub the tile surfaces and grout lines. A small, firm-bristled grout brush can be used for more stubborn spots, but avoid using excessive force. After cleaning, rinse the entire surface thoroughly with clean water to remove any soap residue, which can attract dirt. Finally, dry the tiles and grout with a clean towel or squeegee to prevent water spots and inhibit mildew growth.
Sealing Grout and Tiles
Sealing is your number one defense against moisture. While your contractor at Clean Cut Renovations likely sealed the grout upon installation, this protective layer wears down over time. In a high-humidity area like Vancouver, WA, we recommend re-sealing your grout lines every 12 to 18 months, especially in high-splash zones like the shower.
To test if your grout needs sealing, sprinkle a few drops of water on it. If the water beads up, the sealer is still working. If it soaks in and darkens the grout, it’s time to re-seal. The process is straightforward: clean the grout lines thoroughly, let them dry completely (for at least 24 hours), and then apply a high-quality grout sealer with a small brush or applicator. Wipe away any excess from the tile surface before it dries. This simple task is crucial for moisture resistance and stain prevention.
Addressing Cracks or Damage Early
Make it a habit to visually inspect your tile and grout regularly. Look for any hairline cracks in the grout or chips in the tiles. These seemingly minor imperfections can be entry points for water, which can seep behind the tile and damage the wall structure, leading to much larger problems.
If you find a small crack in the grout, you can often repair it yourself with a matching grout caulk. For chipped tiles or more significant grout damage, it’s best to address it immediately. Prompt repairs prevent water intrusion, stop mold before it starts, and keep your bathroom structurally sound. Early intervention is a cornerstone of effective post-remodel upkeep.
Fixture and Hardware Maintenance
Your faucets, showerhead, and hardware are the functional jewels of your bathroom. Proper care will not only keep them shining but also ensure they work flawlessly, preventing leaks and other issues.
Faucets, Showerheads, and Taps
Hard water minerals can build up on fixtures, causing unsightly spots and clogging showerheads. To clean them, use a simple solution of equal parts white vinegar and water. For faucets and taps, spray the solution on and wipe clean with a soft cloth. For a clogged showerhead, you can unscrew it and soak it in the vinegar solution for an hour, or fill a plastic bag with the solution and tie it around the showerhead, ensuring the clogged nozzles are submerged. After soaking, gently scrub with a soft brush and rinse.
To prevent leaks, periodically check the base of your faucets and the connections under the sink for any signs of moisture. A small drip can waste a surprising amount of water and signal a failing washer or cartridge that needs replacement.
Toilets and Vanities
When cleaning your toilet, avoid using abrasive scouring powders or drop-in tank tablets containing bleach. Abrasives can scratch the porcelain finish, making it more susceptible to staining. The chemicals in tank tablets can degrade the rubber and plastic components inside the tank, leading to leaks and mechanical failure. Instead, use a gentle bowl cleaner and a toilet brush.
For your vanity, the cleaning method depends on the material. For wood vanities, use a soft, damp cloth and a mild wood cleaner, drying it immediately to prevent water damage. For laminate or stone countertops, use cleaners specifically designed for those surfaces to avoid discoloration or damage to the sealant. Always wipe up spills, especially makeup or colored liquids, as soon as they happen.
Handles, Knobs, and Accessories
The handles, knobs, towel bars, and other accessories in your bathroom also need attention. Regular polishing keeps them looking new and removes fingerprints and water spots. The best cleaner depends on the finish—be it chrome, brushed nickel, matte black, or brass. Always use a soft microfiber cloth to avoid scratching the finish. Check periodically to ensure all hardware is securely fastened and tighten any loose screws to prevent them from becoming wobbly or detached.
Ventilation and Moisture Control
In the Pacific Northwest, managing moisture is the most critical aspect of bathroom maintenance. A damp, poorly ventilated bathroom is a perfect breeding ground for mold and mildew, which can compromise air quality and damage surfaces.
Keep Exhaust Fans Clean and Functional
Your bathroom’s exhaust fan is your primary tool for fighting humidity. You should run it during every shower or bath and for at least 20-30 minutes afterward to vent moist air outside. To ensure it’s working effectively, you need to keep it clean. At least twice a year, turn off the power at the circuit breaker, remove the fan cover, and wash it in warm, soapy water. Use a vacuum with a brush attachment to carefully clean dust and debris from the fan blades and motor housing. A clean fan operates more efficiently and moves more air.
Use Dehumidifiers or Natural Ventilation as Needed
On particularly damp or rainy Vancouver days, your exhaust fan may need some help. Consider using a small, portable dehumidifier in the bathroom to pull excess moisture from the air. Alternatively, when weather permits, opening a window for a short time after showering can create cross-ventilation that helps dry out the room quickly.
Monitor for Signs of Mold or Excess Humidity
Be vigilant and watch for early signs of moisture problems. These can include condensation on windows or walls that doesn’t clear quickly, a persistent musty smell, or small, dark spots appearing on grout lines, caulk, or painted surfaces. Peeling paint or wallpaper is another red flag. If you notice any of these signs, increase your ventilation efforts and clean the affected area immediately with a mold and mildew cleaner.
Seasonal Considerations for Vancouver WA
Our local climate presents different challenges throughout the year. Adjusting your bathroom maintenance routine with the seasons can help you stay ahead of potential problems.
Winter Care in the PNW
Winter in the PNW often means cold, damp air outside and warm air inside, a perfect recipe for condensation. When warm, moist air from your shower hits cold surfaces like windows and exterior walls, water droplets form. This condensation can lead to water damage and mold. During winter, be extra diligent about running your exhaust fan. If your windows are consistently foggy, you may need to slightly increase the heat in the bathroom or use a dehumidifier to keep indoor humidity levels in check.
Summer Maintenance Tips
While we enjoy our beautiful PNW summers, they can still bring rainy days and humidity. Continue your ventilation routine throughout the summer months. This is also a great time to tackle bigger maintenance tasks. The warmer, drier air allows sealants and grout to cure more effectively, making summer the ideal season for re-sealing grout or re-caulking around the tub and sink.
Year-Round Inspection Routine
A quarterly inspection can help you catch issues before they escalate. Every three months, take a few minutes to:
- Check all caulk lines: Look for gaps, cracks, or peeling caulk around the tub, shower, sink, and toilet base. Re-caulk any areas that are failing.
- Inspect grout: Scan for cracks or crumbling sections.
- Test fixtures: Check for drips from faucets or showerheads.
- Look for leaks: Use a flashlight to inspect under the sink and around the toilet base for any signs of water.
This simple routine is a powerful tool to extend your bathroom remodel’s life.
Preventative Maintenance Tips
Beyond cleaning and inspections, a few key habits can make all the difference in preserving your bathroom remodel.
Avoid Harsh Chemicals and Abrasives
We can’t say it enough: strong chemicals and abrasive cleaners are the enemies of a new bathroom. Products containing bleach can discolor grout, while abrasive powders can permanently scratch tile, fixtures, and glass. Stick to pH-neutral, non-abrasive cleaners and soft cloths or brushes for all your cleaning needs.
Address Leaks Immediately
A tiny leak can quickly become a major disaster. Whether it’s a dripping faucet, a running toilet, or a damp spot under the sink, don’t ignore it. These are often signs of a simple problem, like a worn-out washer, that is easy and inexpensive to fix. Left unaddressed, they can lead to water damage, rot, and mold growth, resulting in costly and complex repairs.
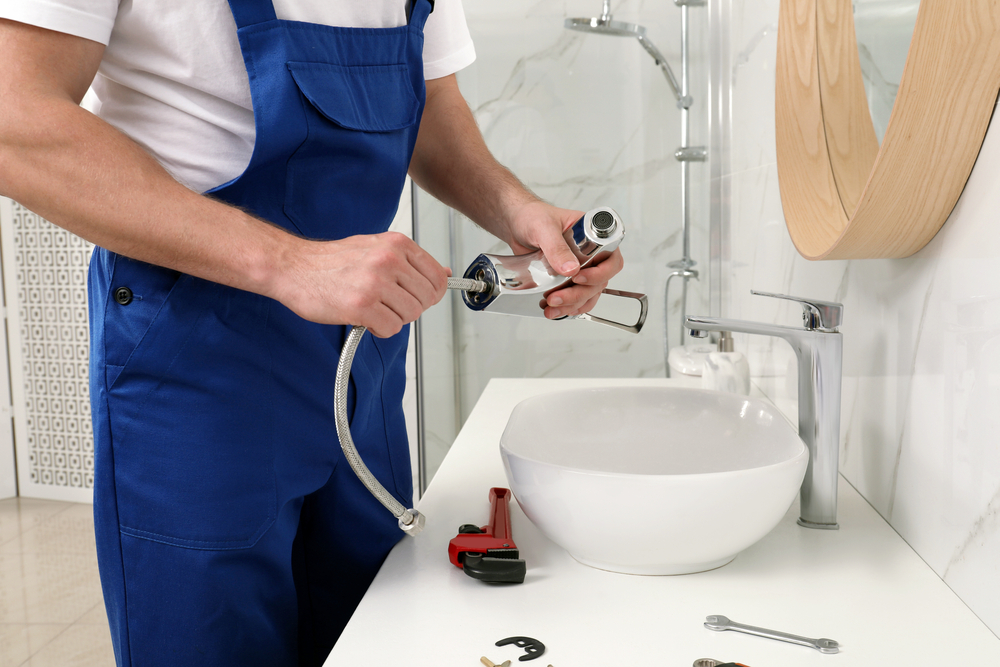
Schedule Professional Inspections if Needed
While most maintenance is DIY-friendly, sometimes you need a professional eye. If you notice a persistent issue you can’t solve, like a stubborn musty odor or recurring mold, it might be wise to schedule a professional inspection. A plumber or contractor can help identify hidden leaks or underlying ventilation problems that need expert attention.
Keep Your Vancouver WA Bathroom Beautiful and Functional
Your newly remodeled bathroom is a source of daily comfort and pride. By implementing a proactive maintenance strategy, you ensure it remains a beautiful and functional retreat for the long haul. Remember the key strategies for bathroom maintenance in Vancouver, WA: control moisture through consistent ventilation, use gentle cleaning methods, re-seal grout and caulk periodically, and perform regular inspections to catch small issues early.
Caring for your remodel is the best way to protect your financial investment and prolong the enjoyment of your space. With these tips, you can confidently maintain the quality and beauty of your Clean Cut Renovations bathroom for many years to come.